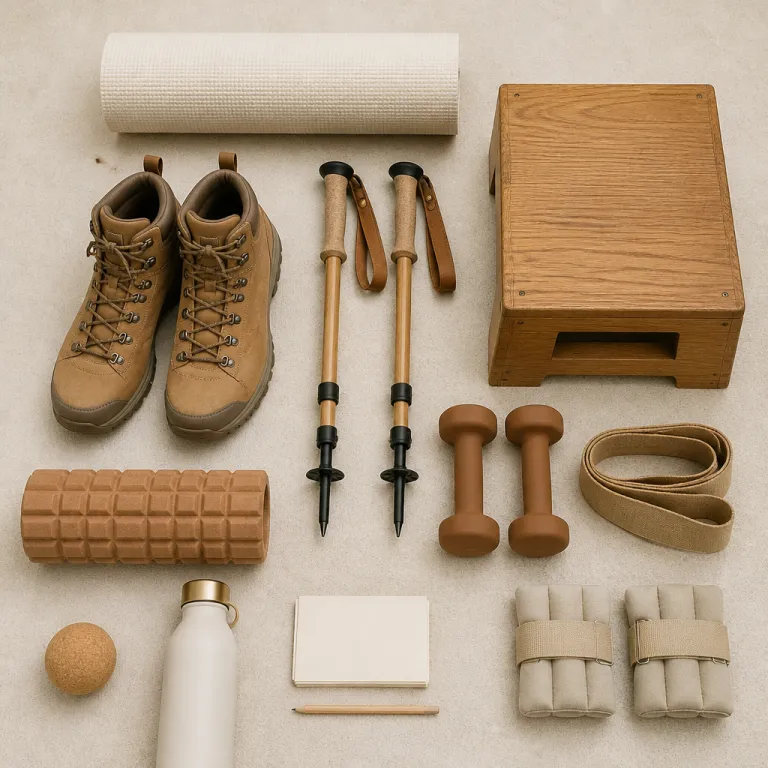
Why downhill hiking punishes your knees more than the climb
On steep hiking descents, your knee joint is not just bending, it is controlling your whole body weight as the muscles lengthen under load. That eccentric work during downhill hiking hammers the quadriceps and surrounding tissues in a way that normal walking or uphill training never fully matches. When you ignore this and only train for the climb, knee pain often shows up the moment you start hiking downhill with a pack.
Each step going downhill turns your front leg into a brake, and the quadriceps, glutes, and calves must absorb impact while they lengthen rather than shorten. That is why pain hiking down a rocky trail can flare even when your legs feel strong on the ascent, because the lower body has not been conditioned for repeated eccentric contractions. The result is familiar to many hikers who love big views but dread the descent, as knee pain and burning thigh muscles turn the final kilometres into a slow shuffle.
Boot choice matters here, because a stable hiking boot with a firm midsole and precise heel fit reduces how much your knee has to correct every wobble. When the boot platform is soft or the upper allows the foot to slide to the side, your single leg control is constantly challenged and the knee joint works overtime to keep balance. Over multi day trips this extra motion compounds, and even a small alignment issue in one leg can become sharp pain by the third afternoon of walking downhill with a full pack.
The staircase test and how to build a downhill training plan
A simple way to gauge your downhill training is the staircase test, where you walk stairs down four flights the day after a long hike and notice how quickly your quadriceps burn. If walking downhill on those stairs feels worse than the actual mountain descent, your lower body strength and eccentric control are not yet ready for bigger elevation loss. That feedback should guide your training plan for the next trip, especially if knee pain has already limited your hiking days.
For most weekend hikers, a focused block of downhill training two or three times per week for six weeks will change how every descent feels. Structure your training hiking sessions around body weight strength work, then gradually add a light weight vest once your legs tolerate the load without pain. Pair this with one day each week of controlled stair sessions, where you walk stairs down slowly and use the handrail only for balance, not to pull your body weight.
Think of this as balance training for the real world, because every step on uneven rock is a mini single leg squat under load. A good resource on broader conditioning is this guide on effective training tips for hikers, which you can layer with specific downhill work. When you combine structured strength exercises, progressive stair sessions, and smart mileage increases, you prevent knee overload instead of reacting to it after each painful descent.
Five key lower body exercises that protect your knees on descents
The core of any hiking knee pain downhill exercises program is eccentric strength, and that starts with controlled step downs from a stable box or stair. Stand on one leg, tap the opposite heel to the floor in front of the step, then return slowly, taking three or four seconds on the way down to train the leg muscles that guard the knee joint. This single leg step pattern mimics hiking downhill, and you can later add a weight vest once body weight feels easy.
Next come wall sits, where you slide your lower body down a wall until the knees are at roughly ninety degrees and hold, keeping the weight through the heels. This isometric position builds strength endurance in the quadriceps and glutes, which delays the burning fatigue that often triggers pain hiking down long ridges. Start with three sets of twenty to forty seconds, then extend the duration as your muscles adapt and your balance improves.
Bulgarian split squats, Nordic hamstring curls, and single leg Romanian deadlifts round out the downhill training toolkit by targeting the entire chain that controls the knee. Bulgarian split squats emphasise the front leg while the rear foot rests on a bench, and you lower slowly to train eccentric control, while Nordic curls and Romanian deadlifts build the posterior muscles that stabilise the knee joint from behind. For a clear progression, follow a three sets of eight to twelve repetitions structure, move with deliberate tempo, and review guidance like the ten percent rule for building mileage without wrecking your knees so your trail volume matches your new strength.
Programming your downhill training around real hikes and real boots
Strength work only pays off when it is integrated with actual hiking, so treat your weekly trail days as field tests for your exercises. Start with shorter routes that include controlled hiking downhill sections, and pay attention to how each knee responds when your pack weight and terrain change. If you can walk stairs down the next day without sharp knee pain, your lower body is absorbing the new workload well.
On training hiking days, use your regular boots and trekking poles so the neuromuscular patterns match what you will use on a multi day trip. A supportive boot with a firm heel counter and torsional rigidity keeps the leg aligned, while poles shift some load from the knee joint to the upper body, especially when walking downhill on loose rock. Adjust pole length slightly longer for descents, plant them a little ahead of your feet, and let your arms share the braking duty that would otherwise overload the knees.
Inside the gym or at home, keep the same three sessions per week rhythm for your hiking knee pain downhill exercises, and rotate focus between quadriceps, hamstrings, and balance training. One day might emphasise step downs and wall sits, another Bulgarian split squats and Nordic curls, and a third single leg balance drills combined with light stair work. Over six to eight weeks, this blend of targeted strength and real trail practice will prevent knee flare ups more effectively than any brace or taping strategy alone.
When knee pain means more than weak quads, and how to fuel the fix
Not all knee pain on descents comes from deconditioned muscles, and experienced hikers should recognise red flags that call for a physical therapist. Sharp pain along the outer side of the knee can signal iliotibial band irritation, while deep catching sensations inside the joint may suggest meniscus involvement rather than simple overload. Persistent swelling after every walk or a knee that locks or gives way is not a problem to solve with more downhill training or heavier strength exercises.
A qualified physical therapist can assess how your hip strength, ankle mobility, and gait pattern influence the forces that reach the knee joint during hiking downhill. They may still prescribe many of the same single leg drills and balance training patterns, but with specific angles, ranges, and progressions tailored to your body. That professional eye is especially important if pain hiking has already forced you to cut trips short or avoid favourite routes with long descents.
Recovery also depends on how you fuel and pace your days, because tired muscles protect the knee less effectively near the end of a long walk. Plan regular snack breaks and carry dense, savoury options as outlined in this guide to tasty and nutritious hiking snacks, so your legs still have strength when you start going downhill late in the day. In the end, it is not the waterproof rating of your boots that saves your knees, but the combination of smart training, early intervention, and the tenth careful river crossing when your body is still steady.
FAQ
How often should I do hiking knee pain downhill exercises before a big trip ?
Most hikers benefit from performing focused downhill strength exercises two or three times per week for at least six weeks before a demanding trip. Aim for three sets of eight to twelve repetitions per leg on key movements like step downs, Bulgarian split squats, and single leg Romanian deadlifts, using slow three to four second lowering phases. Combine this with one weekly stair session and one real trail hike that includes controlled descents to translate gym strength into trail resilience.
Can trekking poles really reduce knee pain when hiking downhill ?
Trekking poles can significantly reduce the load on the knee joint during descents by shifting part of your body weight to the upper body. Research on pole use in hiking shows meaningful reductions in joint forces, especially when poles are adjusted slightly longer for downhill and planted ahead of the feet. For best results, keep your torso slightly forward, avoid leaning back, and let the poles act as extra legs that share braking duty on each step.
What type of hiking boots are best for protecting my knees on descents ?
Boots that offer a stable platform, firm midsole, and secure heel hold help keep the leg aligned and reduce unwanted twisting at the knee. Look for models with good torsional rigidity, moderate cushioning that does not feel mushy under load, and an upper that prevents the foot from sliding forward on steep slopes. A precise fit combined with appropriate lacing and, if needed, supportive insoles can reduce knee strain more than simply choosing the highest or stiffest boot.
When should I see a physical therapist about knee pain from hiking downhill ?
You should consult a physical therapist if knee pain persists for more than a couple of weeks despite rest and basic strength work, or if you notice swelling, locking, or giving way. Pain that localises sharply on one side of the knee, especially with clicking or catching, also warrants professional assessment rather than self directed training. Early evaluation can identify movement patterns or tissue issues that targeted exercises alone might miss, preventing small problems from becoming chronic limitations.
Is walking stairs enough training for steep downhill hiking ?
Walking stairs, especially walking down slowly with control, is a useful part of downhill preparation but not a complete solution. Stairs provide consistent step height and surface, while real trails add uneven rocks, variable slopes, and side to side instability that challenge balance and hip control. Combine stair work with single leg strength exercises, outdoor descents on varied terrain, and progressive pack weight to fully prepare your knees for demanding mountain routes.