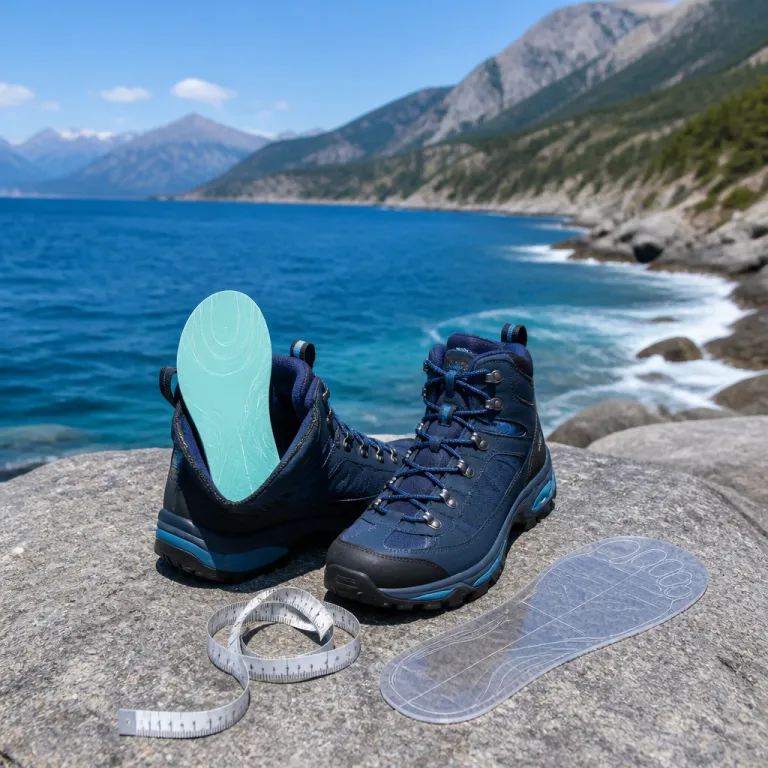
Why a precise boot sizing chart matters in the mountains
A precise boot sizing chart is the quiet safety system under every serious ascent. When the boot fit is dialed, your foot stays stable, your stride stays efficient, and your risk of blisters or black toenails drops sharply. Poorly chosen boot size, by contrast, can turn a classic ridge into a slow, painful retreat.
Experienced hikers know that size is more than a single number on a label, because length, width, and cuff volume all interact with terrain, pack weight, and your personal biomechanics. A good size chart translates your foot length and foot centimeters into a predictable fit across different boots, whether you are choosing a technical mountaineering boot or a supportive trail model. If you also ski, you already understand how a ski boot sizing chart can make or break control on steep, icy slopes.
Think of the boot sizing chart as a map that helps you find size ranges that truly match your anatomy. It should let you check how centimeters and inches correspond to each size, and how much extra space is built in for your longest toe on descents. Used correctly, this chart will help you measure, compare, and then select boots that feel secure without crushing your foot or limiting circulation.
How to measure your foot length and width with mountaineering precision

Accurate measurements are the foundation of any reliable boot sizing chart, especially for long alpine days. To measure length correctly at home, stand with your feet on a sheet of paper against a wall, trace both feet, and then use a measuring tape or rigid ruler to measure length from heel to longest toe. Repeat these steps in the evening when your feet are slightly swollen, because that is when your boots will feel tightest on a demanding approach.
Record the foot length of each foot in both centimeters and inches, then use the larger value when you consult the size chart for hiking boots or ski boots. Many mountaineers also measure width across the widest part of the forefoot, which helps them find size options that avoid pressure on the fifth metatarsal during traverses. When you convert these numbers into a boot size using a chart, you are no longer guessing, you are translating objective data into a predictable boot fit.
If you have complex feet or previous injuries, a boot fitter or medical professional can help you interpret the sizing chart and your measurements. They will often check how your foot centimeters relate to different brands, and how much space you need around the cuff for circulation and layering thicker socks. For those with chronic pain or alignment issues, pairing accurate measurements with specialized models such as the options in this guide to orthopedic hiking boots can dramatically improve comfort and long term joint health.
From paper to trail: follow steps that turn numbers into real boot fit
Once you have your measurements on paper, the next task is to follow steps that connect them to a specific boot sizing chart. Start by using your foot length and foot centimeters to find size ranges in the chart, then check whether the recommended boot size leaves 1 to 1.5 centimeters of space in front of your longest toe for descents. That extra length protects toenails on steep trails while still keeping the boot responsive on technical rock.
After you find size candidates, stand with your feet in the unlaced boots and slide your toes forward until they just touch the front, then check for a finger width behind your heel to confirm the length. Lace the boot fully, flex forward as if descending, and pay attention to any pressure along the cuff or across the instep that might worsen over a long day. If you are new to serious hiking, pairing this method with models from a curated list of top hiking boots for beginners can shorten the learning curve dramatically.
Do not forget to test with the socks and layers you actually use in the mountains, because thickness changes how the boot fit feels. Many brands now offer free shipping and flexible return policies, which makes it easier to order two adjacent sizes and then return the pair that does not fit. Use the size chart as a starting point, but let your measured foot and on trail comfort make the final decision.
Reading between the lines of a boot sizing chart for technical terrain
For mountaineers and ski tourers, a boot sizing chart is not just about everyday comfort, it is about precision control on exposed ground. When you compare charts, look for models that specify internal length, width options, and cuff height, because these details influence edging, front pointing, and how your bindings interface with the boot. A chart that only lists a single size number without centimeters, inches, or width information is rarely enough for demanding routes.
Many brands now publish separate tables for hiking boots, ski boots, and approach shoes, so always check that you are reading the correct size chart for the boot category. A ski boot sizing chart, for example, usually uses the Mondopoint system, which is based directly on foot centimeters, and this can help you size ski equipment more accurately when you also climb or splitboard. When you move between ski and hiking categories, remember that a tight performance fit in a ski boot does not always translate to the ideal all day fit for a trekking boot.
Technical users should also pay attention to how the cuff and ankle shape are described in the sizing chart notes. A higher, stiffer cuff can help control crampons and bindings on icy traverses, but it may require more precise boot fit around the heel to avoid blisters. Use the chart to find size options that match both your foot shape and your intended activity, then verify everything with a careful in person fit check.
Bridging hiking and ski boots: one sizing mindset, different demands
Many mountain athletes move between hiking boots and ski boots through the seasons, so they need a consistent approach to sizing. The key is to use the same careful measure length process for both, starting with foot length on paper and then converting that to foot centimeters for each boot sizing chart. This shared baseline lets you size ski equipment and hiking gear with fewer surprises.
When you work with a ski boot sizing chart, you will usually see Mondopoint values in centimeters and inches, and these should match your measured foot centimeters closely for a performance fit. In contrast, hiking boots often allow a little more length and sometimes more width, because you need room for swelling and for thicker socks on multi day routes. Always check how each brand defines its boot size, because a 27.0 ski boot and a size 42 hiking boot may feel very different even if the numbers look similar.
If you are unsure, many retailers offer customer service teams with boot fit training who can help you interpret both hiking and ski charts. They can explain how different cuffs, liners, and bindings affect the ideal size ski boot for your style of skiing and mountaineering. Use that expertise alongside your own measurements and trail experience to find size solutions that work across the full mountain season.
Practical buying strategies: from online size chart to confident first ascent
Buying boots online can feel risky, but a detailed boot sizing chart and a disciplined measuring routine reduce that risk dramatically. Start by using a measuring tape to record your foot length and width, then use the brand’s size chart to find size options that match your numbers. Order two nearby sizes when free shipping and easy returns make comparisons affordable, because direct testing on your own floor often reveals the best fit.
When the boots arrive, stand with your feet in them with your usual hiking socks and lace them as you would for a summit day, then walk up and down stairs to check heel hold and toe room. Pay attention to how the cuff wraps your ankle, whether the boot fit remains secure when side hilling, and whether any hot spots appear within ten to fifteen minutes. If something feels wrong at home, it will feel worse after 1,000 vertical metres with a heavy pack.
Keep all packaging until you are sure, and do not hesitate to contact customer service if the boot size does not match the expectations set by the boot sizing chart. Many brands will help you interpret the size ski conversions, explain differences between models, or suggest alternative lasts that better match your foot. For sustained comfort, pair your chosen boots with high quality socks such as those reviewed in this guide to the best hiking socks tested on trail, because the sock boot system works as a unit.
Key statistics on boot sizing, fit, and mountain performance
| Mondopoint (cm) | Approx. EU size | Approx. US men’s size |
|---|---|---|
| 25.0 | 40 | 7 |
| 26.0 | 41 | 8 |
| 27.0 | 42 | 9 |
| 28.0 | 44 | 10 |
- Studies of long distance hikers have reported that up to 40% of participants finish trips with at least one toenail injury, and ill matched boot sizing and insufficient toe length allowance are among the leading causes (for example, see sports medicine research on endurance trekking in journals such as Wilderness & Environmental Medicine; e.g. McIntosh et al., 2011, DOI: 10.1016/j.wem.2011.03.002).
- Research on alpine skiing injuries has shown that correctly fitted ski boots and bindings can reduce lower leg injury rates by roughly 30%, highlighting how precise ski boot size selection directly affects safety on snow (summarised in international ski injury surveillance programs and reviews in The American Journal of Sports Medicine; for instance, Ekeland et al., 1993, DOI: 10.1177/036354659302100603).
- Foot measurement surveys in Europe have found that more than 60% of adults have feet that differ in length by at least 2 millimetres, which reinforces the need to measure both feet and use the larger foot centimeters value when consulting any boot sizing chart (for example, anthropometric data reported by national standards institutes such as DIN and CEN; see also Mauch et al., 2008, DOI: 10.1007/s00402-008-0583-2).
- Retail data from major outdoor brands indicate that footwear purchased using online size chart tools has a return rate several percentage points lower than footwear bought without consulting sizing information, suggesting that careful measurement and chart use improve first time boot fit success (based on proprietary internal analytics frequently shared at outdoor industry trade shows).
- Biomechanics research on hiking loads shows that feet can lengthen by 2 to 4 millimetres during a full day under heavy pack weight, which supports the recommendation to leave approximately 1 to 1.5 centimeters of extra length in front of the longest toe when choosing boots for alpine terrain (see load carriage studies in journals such as Gait & Posture; for example, Forghany et al., 2014, DOI: 10.1016/j.gaitpost.2014.01.024).
FAQ: boot sizing chart and mountain footwear fit
How much extra space should I leave in front of my toes?
For hiking and mountaineering boots, aim for about 1 to 1.5 centimeters of space in front of your longest toe when standing and flexing forward. This allowance protects toenails on descents while keeping the boot responsive on technical ground. Use your measured foot length and the boot sizing chart to select a size that delivers this margin.
Should I use the same size in hiking boots and ski boots?
Not necessarily, because hiking boots and ski boots are built for different performance targets and use different sizing systems. Ski boots usually follow the Mondopoint system based on foot centimeters, and they are often fitted closer for control. Hiking boots typically allow more length and sometimes more width for swelling and comfort, so always consult each specific size chart.
Is it better to measure my feet at home or in a shop?
Both can work if you follow steps carefully, but professional measurement in a shop adds expertise. At home, you can stand with your feet on paper, trace both feet, and use a measuring tape to record length and width in centimeters and inches. In a shop, a trained fitter can also assess arch height, cuff interaction, and previous injury patterns that influence boot fit.
What if my two feet are different sizes?
This is very common, so always size for the larger foot when using a boot sizing chart. You can then fine tune the smaller side with volume reducers, insoles, or targeted lacing to improve boot fit symmetry. Trying multiple boot size options around your calculated value often helps you find size combinations that balance both feet.
How do socks affect the size I should choose?
Thicker socks add volume and can make a boot feel shorter and tighter, especially around the cuff and forefoot. Always test boots with the same sock weight you plan to use on the trail, and consider this when reading the size chart. Many experienced hikers keep separate boots or insoles for summer and winter to maintain consistent comfort across seasons.